
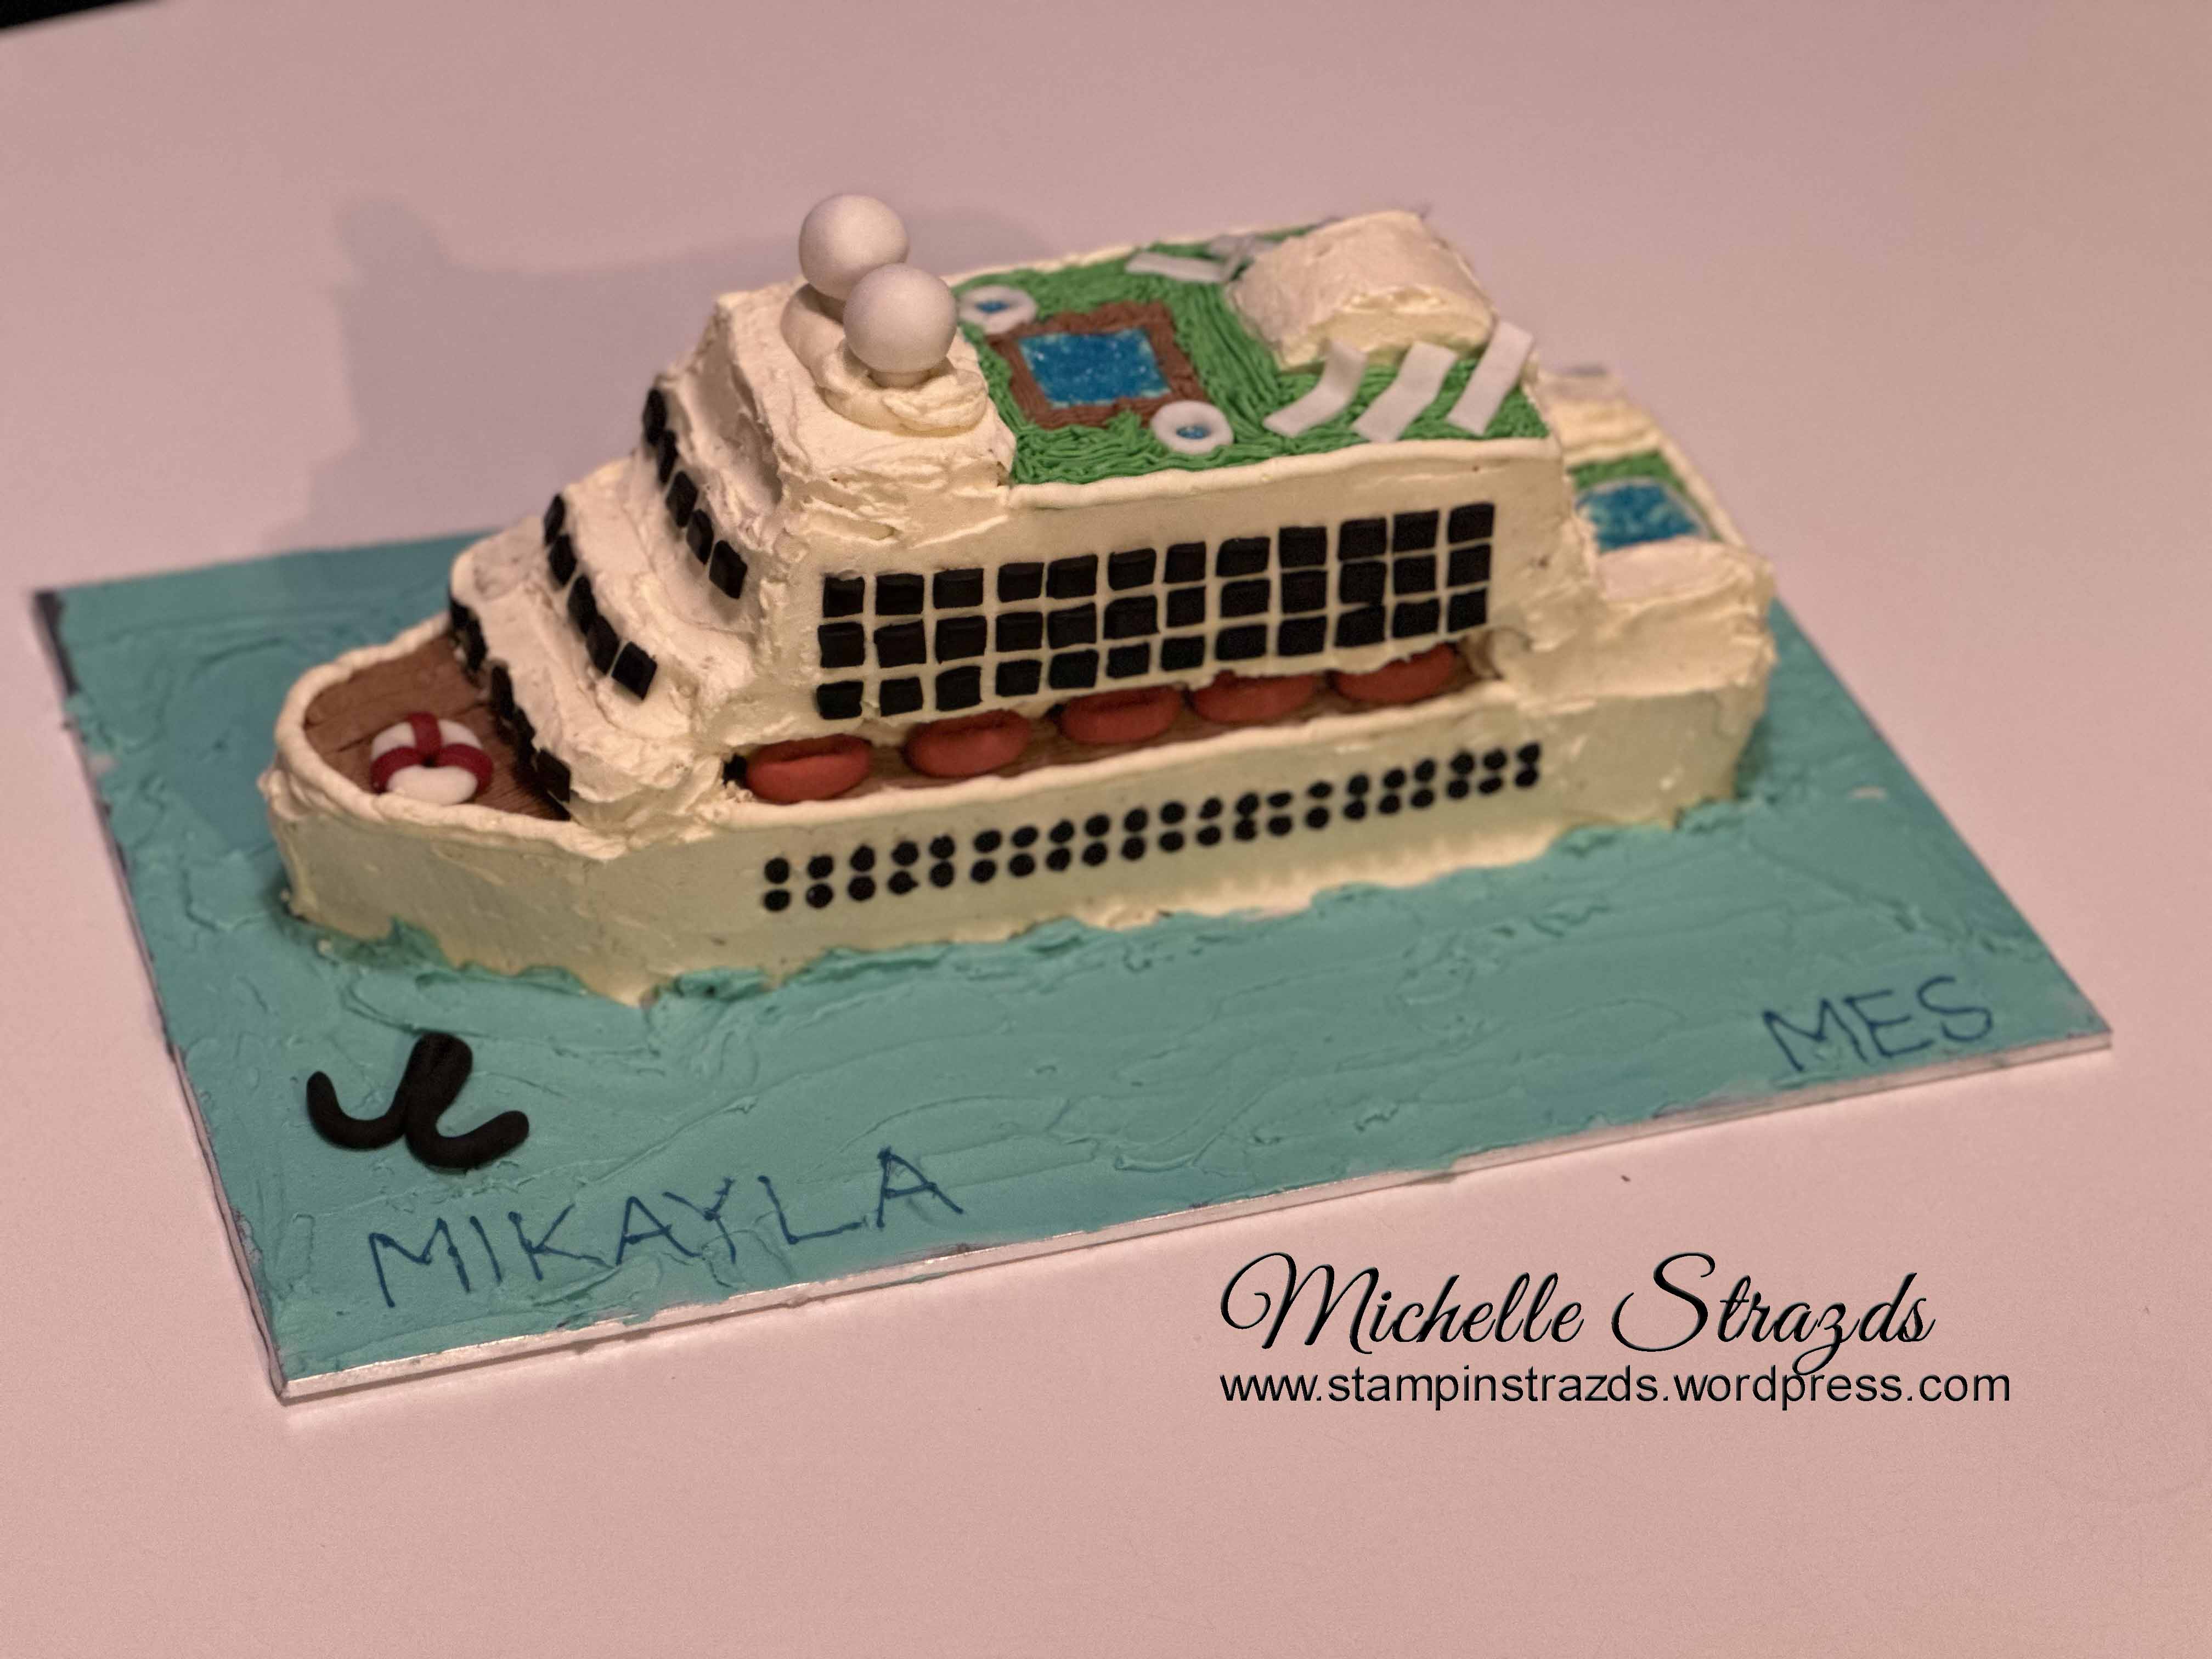
Well, winter has definitely arrived in the Adelaide hills. It’s been very cold, and we’ve had some rain this week. A few mornings we have woken to frost on the grass and ice on the windscreens. Wherever you are, I hope you are staying nice & warm. This week has been a busy week with my daughter’s birthday next Tuesday. We held her birthday party today with a group of her friends at the movies. Now that my kids are a bit older, they put in their requests as to what they would like for their birthday cakes. This year my daughter requested a cruise ship cake! What’s wrong with a clock cake or something simple like that?!? I’m no expert when it comes to cake decorating but I do enjoy doing them for my kids’ birthday cakes, even if they do stress my out. Here’s the outcome of the cruise ship cake. The lighting isn’t the best in the photo as I was taking it at 10pm last night.

Time to get back to the reason of the blog hop. This week we are casing a bundle from the new 2024-2025 Annual Catalogue which can be found on pages 57-73. That’s 17 bundles and 51 projects to choose from to case! And guess what? I don’t have any of these bundles yet, so I had to think outside the square for my case this week. I ended up creating a card for my daughter’s birthday. If anyone sees her before Tuesday, don’t tell her about the card as she hasn’t received it yet.

I decided to case the Labeled with Love Bundle on page 58 and choose the green card on the left in the image above as my inspiration. I started off casing it quite closely, however as I continued, I seemed to stray from the original a bit more. I did keep the colour of the card, Shy Shamrock, along with the idea of the same image repeated (although I ended up doing 3 times as many) and kept the style & location of the sentiment the same. I hope that you can still see that my inspiration came from this card.
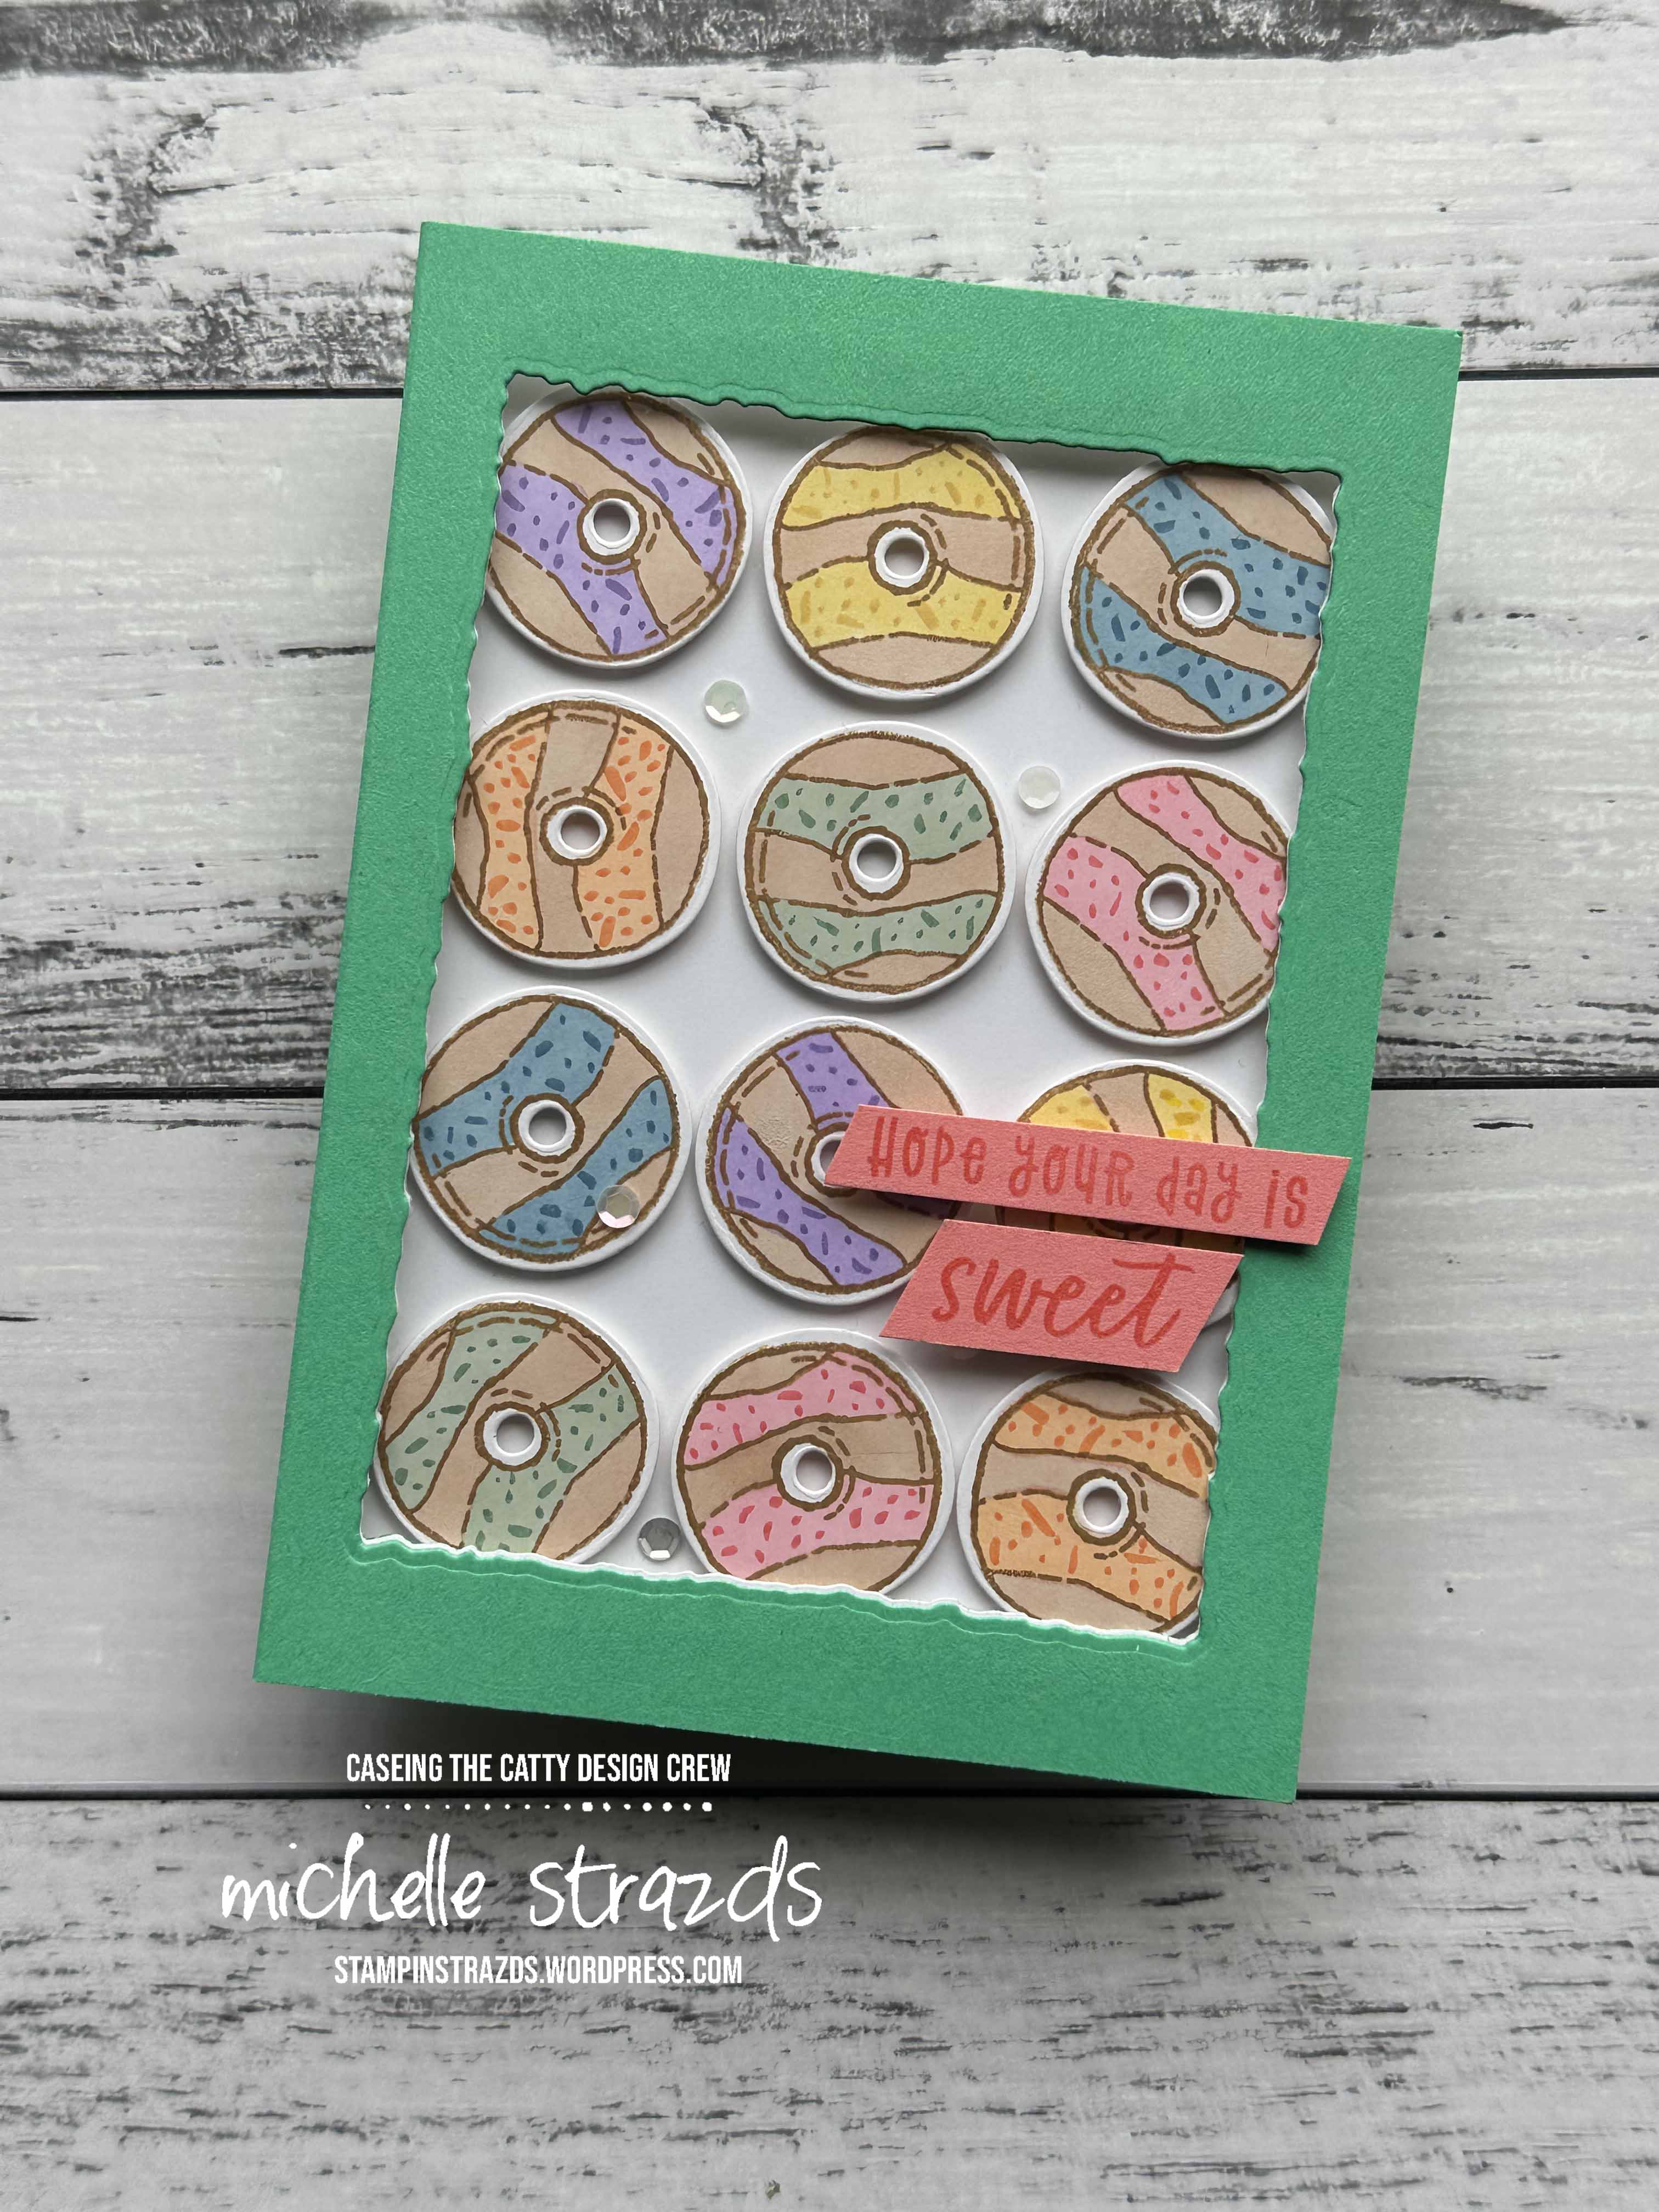
I started with a Shy Shamrock standard card base. I then cut another piece of Shy Shamrock that was 1.5cm wider than the card front. I scored this at 1cm and 1.5cm to create the front opening of the donut box. Before adhering this to the card front, I cut out a rectangle in it using the Deckled Rectangles Dies, and also the same rectangle on a slightly smaller Basic White piece.

Before adhering the “box lid” to the front of the card, I stuck a piece of acetate between the two pieces. After attaching the front ‘box lid” to the card front, I then attached another piece of Basic White cardstock to the inside of the lid section. I stamped all of the donuts from the Ice Cream Swirl stamp set in stamped off Pecan Pie and then cut them out with the coordinating Ice Cream Swirl Dies. I coloured them in using Blends™ and then added the “sprinkles” using Stampin’ Write Markers. These were then stuck in using Dimensionals™ to give the 3D look. I added a few sequins to finish it off.
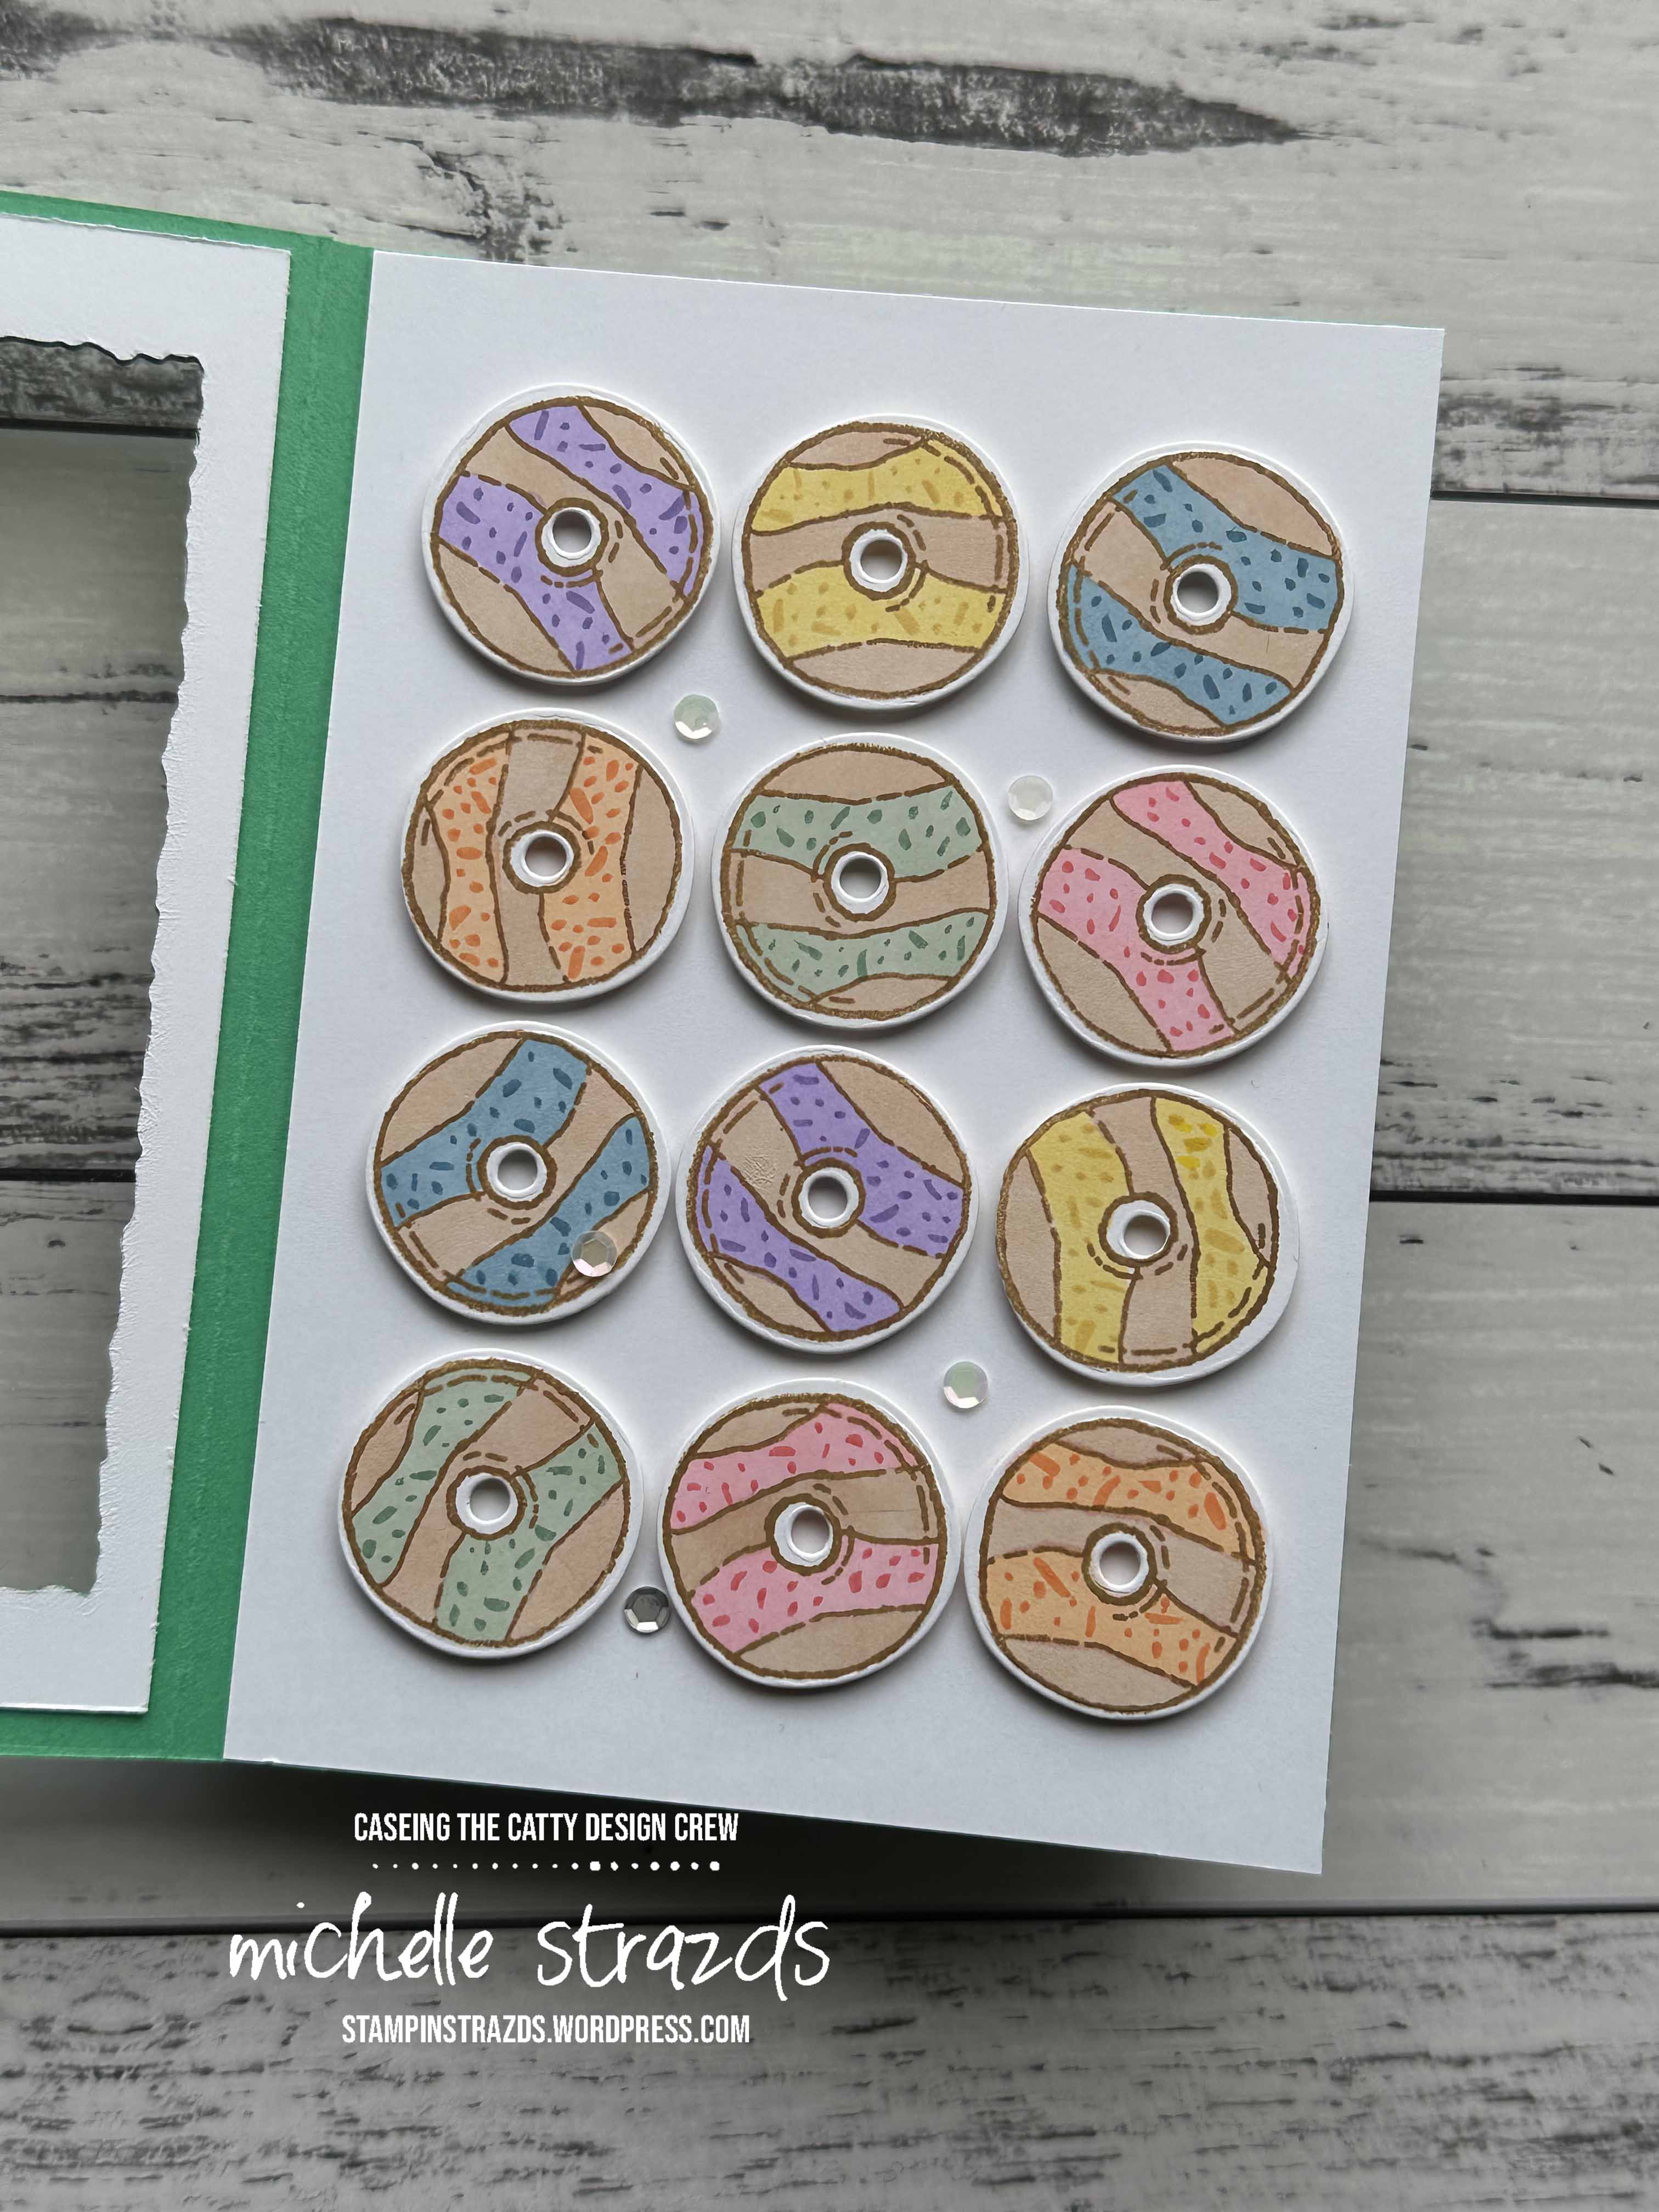
I couldn’t leave the inside of the card blank, so I used the inside cut out piece from the front and stamped the Happy Birthday sentiment from the Simply Said stamp set in Shy Shamrock. I then stamped one more donut directly on the panel & coloured it in with Blends™ again, not forgetting the sprinkles, before adhering this to the inside of the card.

I hope she likes the card this year. It may not be as intricate or fancy as some of my previous birthday cards for her, but I was a little short on time this year. Here are some of the previous cards I made for her (Little Monkey from last year, Catch you Later from 2022, Pirates & Mermaids from 2021, and her 3D Vanity table from 2020). Next up on the hop is Peta. Make sure you keep hopping around to see all of the design team’s projects for this week.

Even if you don’t have any of these bundles, we’d still love for you to join in and share a photo of your creation on our Facebook page.

Until next time, happy stamping
Michelle

